Published:
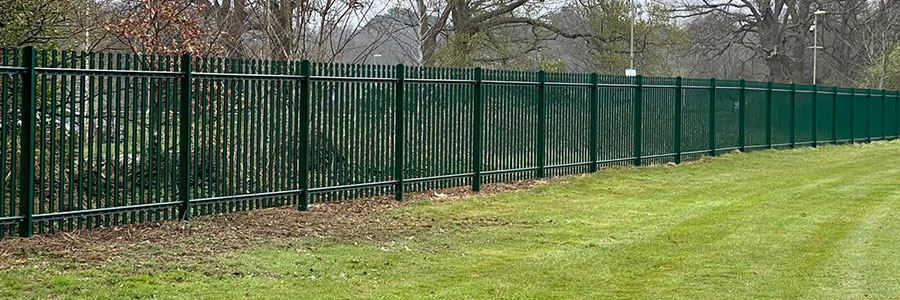
Palisade fencing is a popular choice for many commercial and industrial properties due to its durability, strength, and effectiveness in providing security. However, installing palisade fencing can be a complex process that requires careful planning and execution to ensure optimal functionality and safety.
In this blog, Alexandra Security provides a step-by-step guide to installing palisade fencing, as well as palisade and ProFence gates. Including important considerations, materials needed, and tips for a successful installation. Whether you’re a property owner or a fencing contractor, this guide will help you navigate the process of installing palisade fencing with confidence and ease.
Tip: You can also download our PDF guides to installing palisade fencing and installing palisade and ProFence gates.
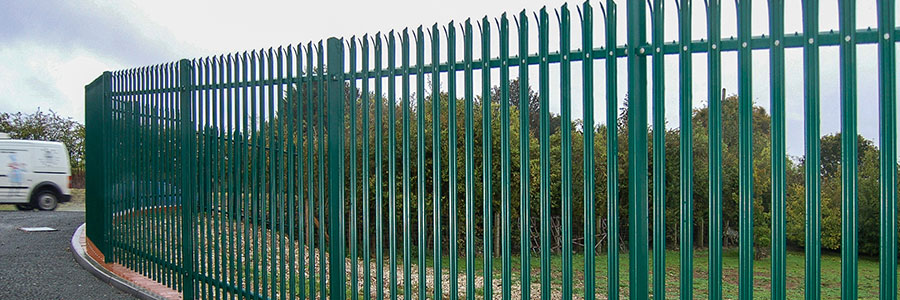
How to Install Palisade Fencing
First things first, let’s look at what you will need to install Alexandra Security palisade fences:
- A minimum of two people to install
- Tape measure
- Battery drill/screwdriver
- String line
- Setting out pegs
- Safety gloves and goggles
- Spirit level
- Selection of clamps
- Post-hole spade or equivalent for digging post holes (not required if mounting fence panels onto concrete using base plates)
- Cement – suitable for setting fence posts
- Cutting equipment and touching up paint if required
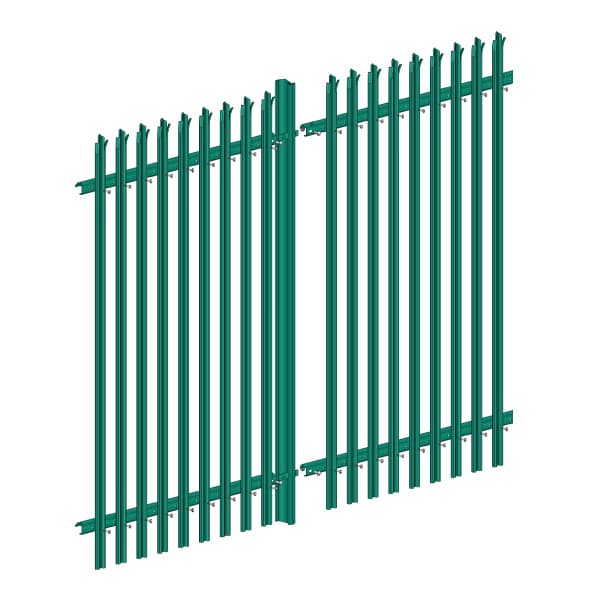
Steps to Installing a Palisade Fence
Carefully follow the following steps and their instructions in order to install a palisade fence:
Step 1: Begin by marking out the intended fence line on the ground using a string line and pegs.
Step 2: Determine the position of the fence posts based on the rail width provided. If installing a gate, start with the gate post and work towards the first corner or end.
Step 3: Using appropriate equipment and observing safety procedures, dig holes to the required depth to accommodate the posts. For base plates screwed onto concrete, ensure the surface is level and thick enough to support fixing screws. Conduct a ground survey to ensure conditions will support all posts.
Step 4: Place the first post in the hole and check it is vertical with a spirit level.
Step 5: Fill the hole with mixed concrete, and hold the post upright while it dries.
Step 6: Move to the next post hole and repeat steps 4 and 5, working on one post and panel at a time.
Step 7: Slide the link plates through the post slots. Angled versions are used on internal and external corners and end posts.
Step 8: Secure the rails to the link plates using M12 bolts, and attach the top rail’s anti-grab tags.
Step 9: Attach the pales to the rails with M8 bolts, using pre-drilled holes.
Step 10: Ensure all fixings are secure and tightened, including M12 x 30 Cup Square Bolt with snap-off tamper-proof shear nut and M8 x 25 Bolt with tamper-proof snap-off shear nut. Refer to the plan views for angled versions.
Step 11: If the fence requires a step to accommodate a gradient, ensure the post heights are set correctly.
Step 12: Treat any scuffs, marks, or cut surfaces with matching touch-up paint, especially those that expose bare metal.

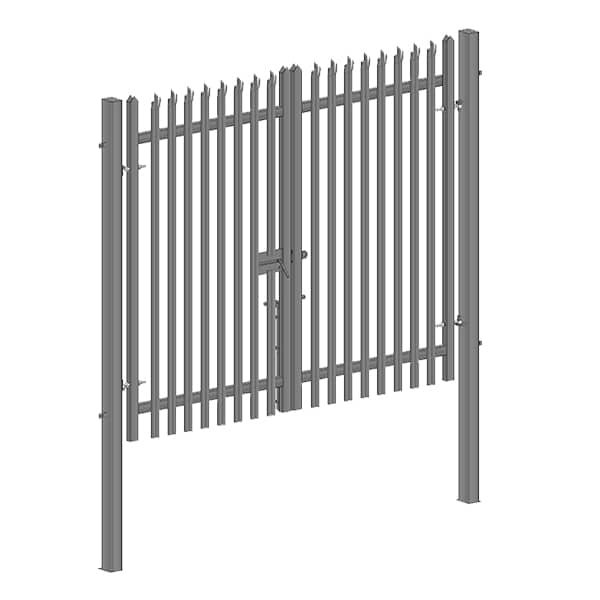
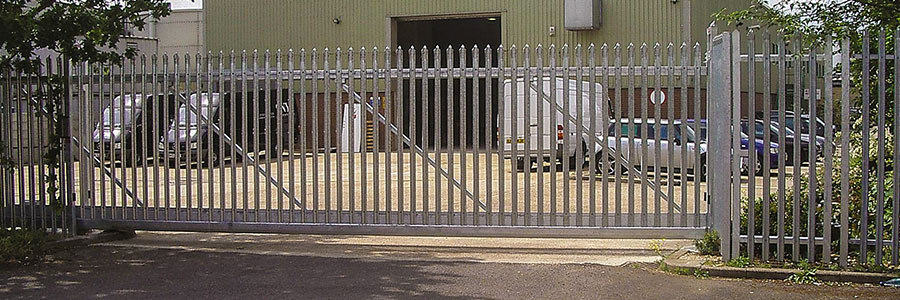
How to Install Palisade & ProFence Gates
These instructions show how to install an Alexandra perimeter gates and accompany the details on fence installation.
Step 1: Clear and level the site where the gate will be installed.
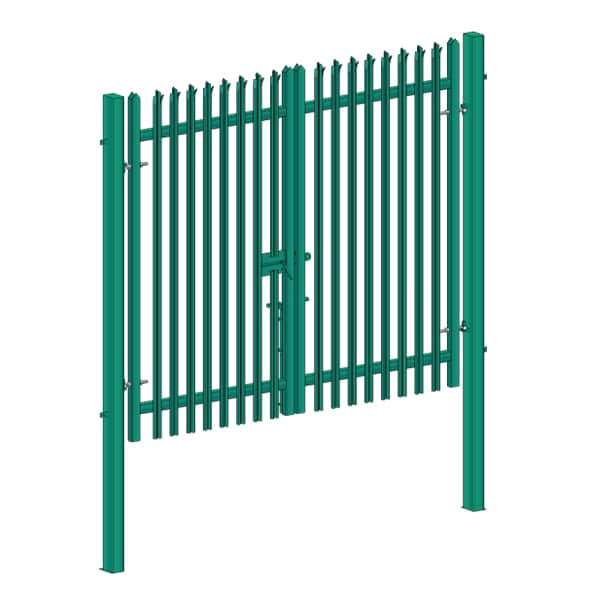
Step 2: It is advised to install the main gate(s) before any runs of fencing to ensure all sections of the perimeter line up correctly. The gate will have been manufactured to the required specification, with predetermined distances between the two main supporting posts, so the first job is to dig the holes for the posts or fix the base plates if installing onto a pre-existing concrete surface. Gate height should match the accompanying fence, but thicker posts may be needed to support the weight of the gate, which could affect the hole dimensions. All Alexandra base plates come pre-drilled for M16 fixings, and all holes must be used when securing the post to the concrete surface.
Step 3: The hinge pins will be pre-welded to the gate posts upon delivery, with one pointing up and the other pointing down. Position the post so that the hinge pins align with the gate’s opening specifications.
Step 4: Ensure sufficient depth for the post hole to support the gate and allow for 50mm ground clearance. Check for any irregular heights in the ground and make sure the gate can swing freely over the highest point in its movement.
Step 5: Examine the entire perimeter for ground conditions and consult with a groundworks engineer if necessary.
Step 6: Ensure the post is upright and at the correct height, then fill the hole with concrete. Use temporary braces if needed while the concrete sets. Trowel the top of the concrete to aid water runoff, or leave it below ground level for a neat finish around the post.
Step 7: Lift the gate into place and follow the original specifications for its operation. Fit the bottom eye bolt to the gate leaf first and secure it with bolts provided. Insert the top eye bolt through pre-drilled holes in the gate leaf and slot it over the top hinge pin. Support the gate at the far end while hanging it. Secure the eye bolt with the bolt provided. Adjust both top and bottom eye bolts to line up the gate properly. Ensure mechanisms and locks are lined up correctly.
Step 8: Fix gate extras such as maglocks, locks, and bottom hinge self-closers.
Step 9: For double leaf gates, mark the position of any dropbolt holes on the ground that secure the gate in fixed open and closed positions.
Step 10: Tidy up the site and apply grease to the hinge pins. Keep the gate shut as much as possible to avoid warping. Regularly lubricate and inspect hinges, moving parts, and locks. Use an approved padlock listed by the Loss Prevention Certification Board (LPCB). Treat scuffs, marks, and cut surfaces with matching touch-up paint to maintain appearance and product guarantee. If adjustment is necessary, refer to Step 7.
Conclusion on How to Install Palisade Fencing & ProFence Gates
Now that you know exactly how to install palisade fencing, are you ready to invest in this security solution? Alexandra Security is recognised as one of the UK’s leading suppliers of metal security fencing, steel gates & perimeter security solutions. We aim to manufacture and supply high quality products, on time, in full, with zero defects.
To find out more, browse our products, or get in touch with us today to speak with one of our experienced security experts.